Salted Caramels

This makes those chewy candies, sometimes called milk caramels. A favorite around Yuletide for giving to friends and family. Candy making isn't all that difficult, you just have to make sure you have a good thermometer and pay close attention to the temperature at each step. A few degrees here or there can result in a burnt taste or undesirable texture.
Ingredients
- ½ C butter
- ½ C heavy cream
- 3 Tbsp water
- ¼ C light corn syrup
- 1 C sugar
- 1 tsp flaked sea salt (or more to taste)
Steps
- Prepare a 9x5 inch loaf pan. Lightly oil, then line with parchment paper, then lightly oil the parchment paper. Things will get sticky.
- Cut up the butter into several pieces, and put into a microsafe bowl. Add the heavy cream, then microwave until butter melts 1-2 minutes.
- In a small saucepan combine the water and corn syrup. Add the sugar, being careful to keep it in the center of the pan and not get any on the sides. Gently stir together, until the sugar is moistened.
- Heat mixture over medium heat, until the water starts to boil. Cover with a tight fitting lid for about a minute. This allows some of the steam to condense and roll down the side, dissolving any stay bits of sugar on the sides of the pot. Remove lid.
- Attach a candy thermometer to the side of the pot and let the mixture cook until it reaches 320°F, it should have turned a light amber color by this point.
- Carefully and slowly pour in the butter and cream mixture in small amounts and stiring with the thermometer after each addition. Each addition will vigorously bubble up as the water in the cream and butter flash boils, so be cautious and go slowly.
- The temperature will drop after the additions. Continue cooking over medium heat until the mixture reaches 245°F, or 240°F for slightly softer caramels.
- Once the mixture hits the desired temperature take it off the heat and gently pour into the prepared loaf pan.
- Let cool for 20 minutes before sprinkling with salt. Then allow to completely cool for about 3-4 hours.
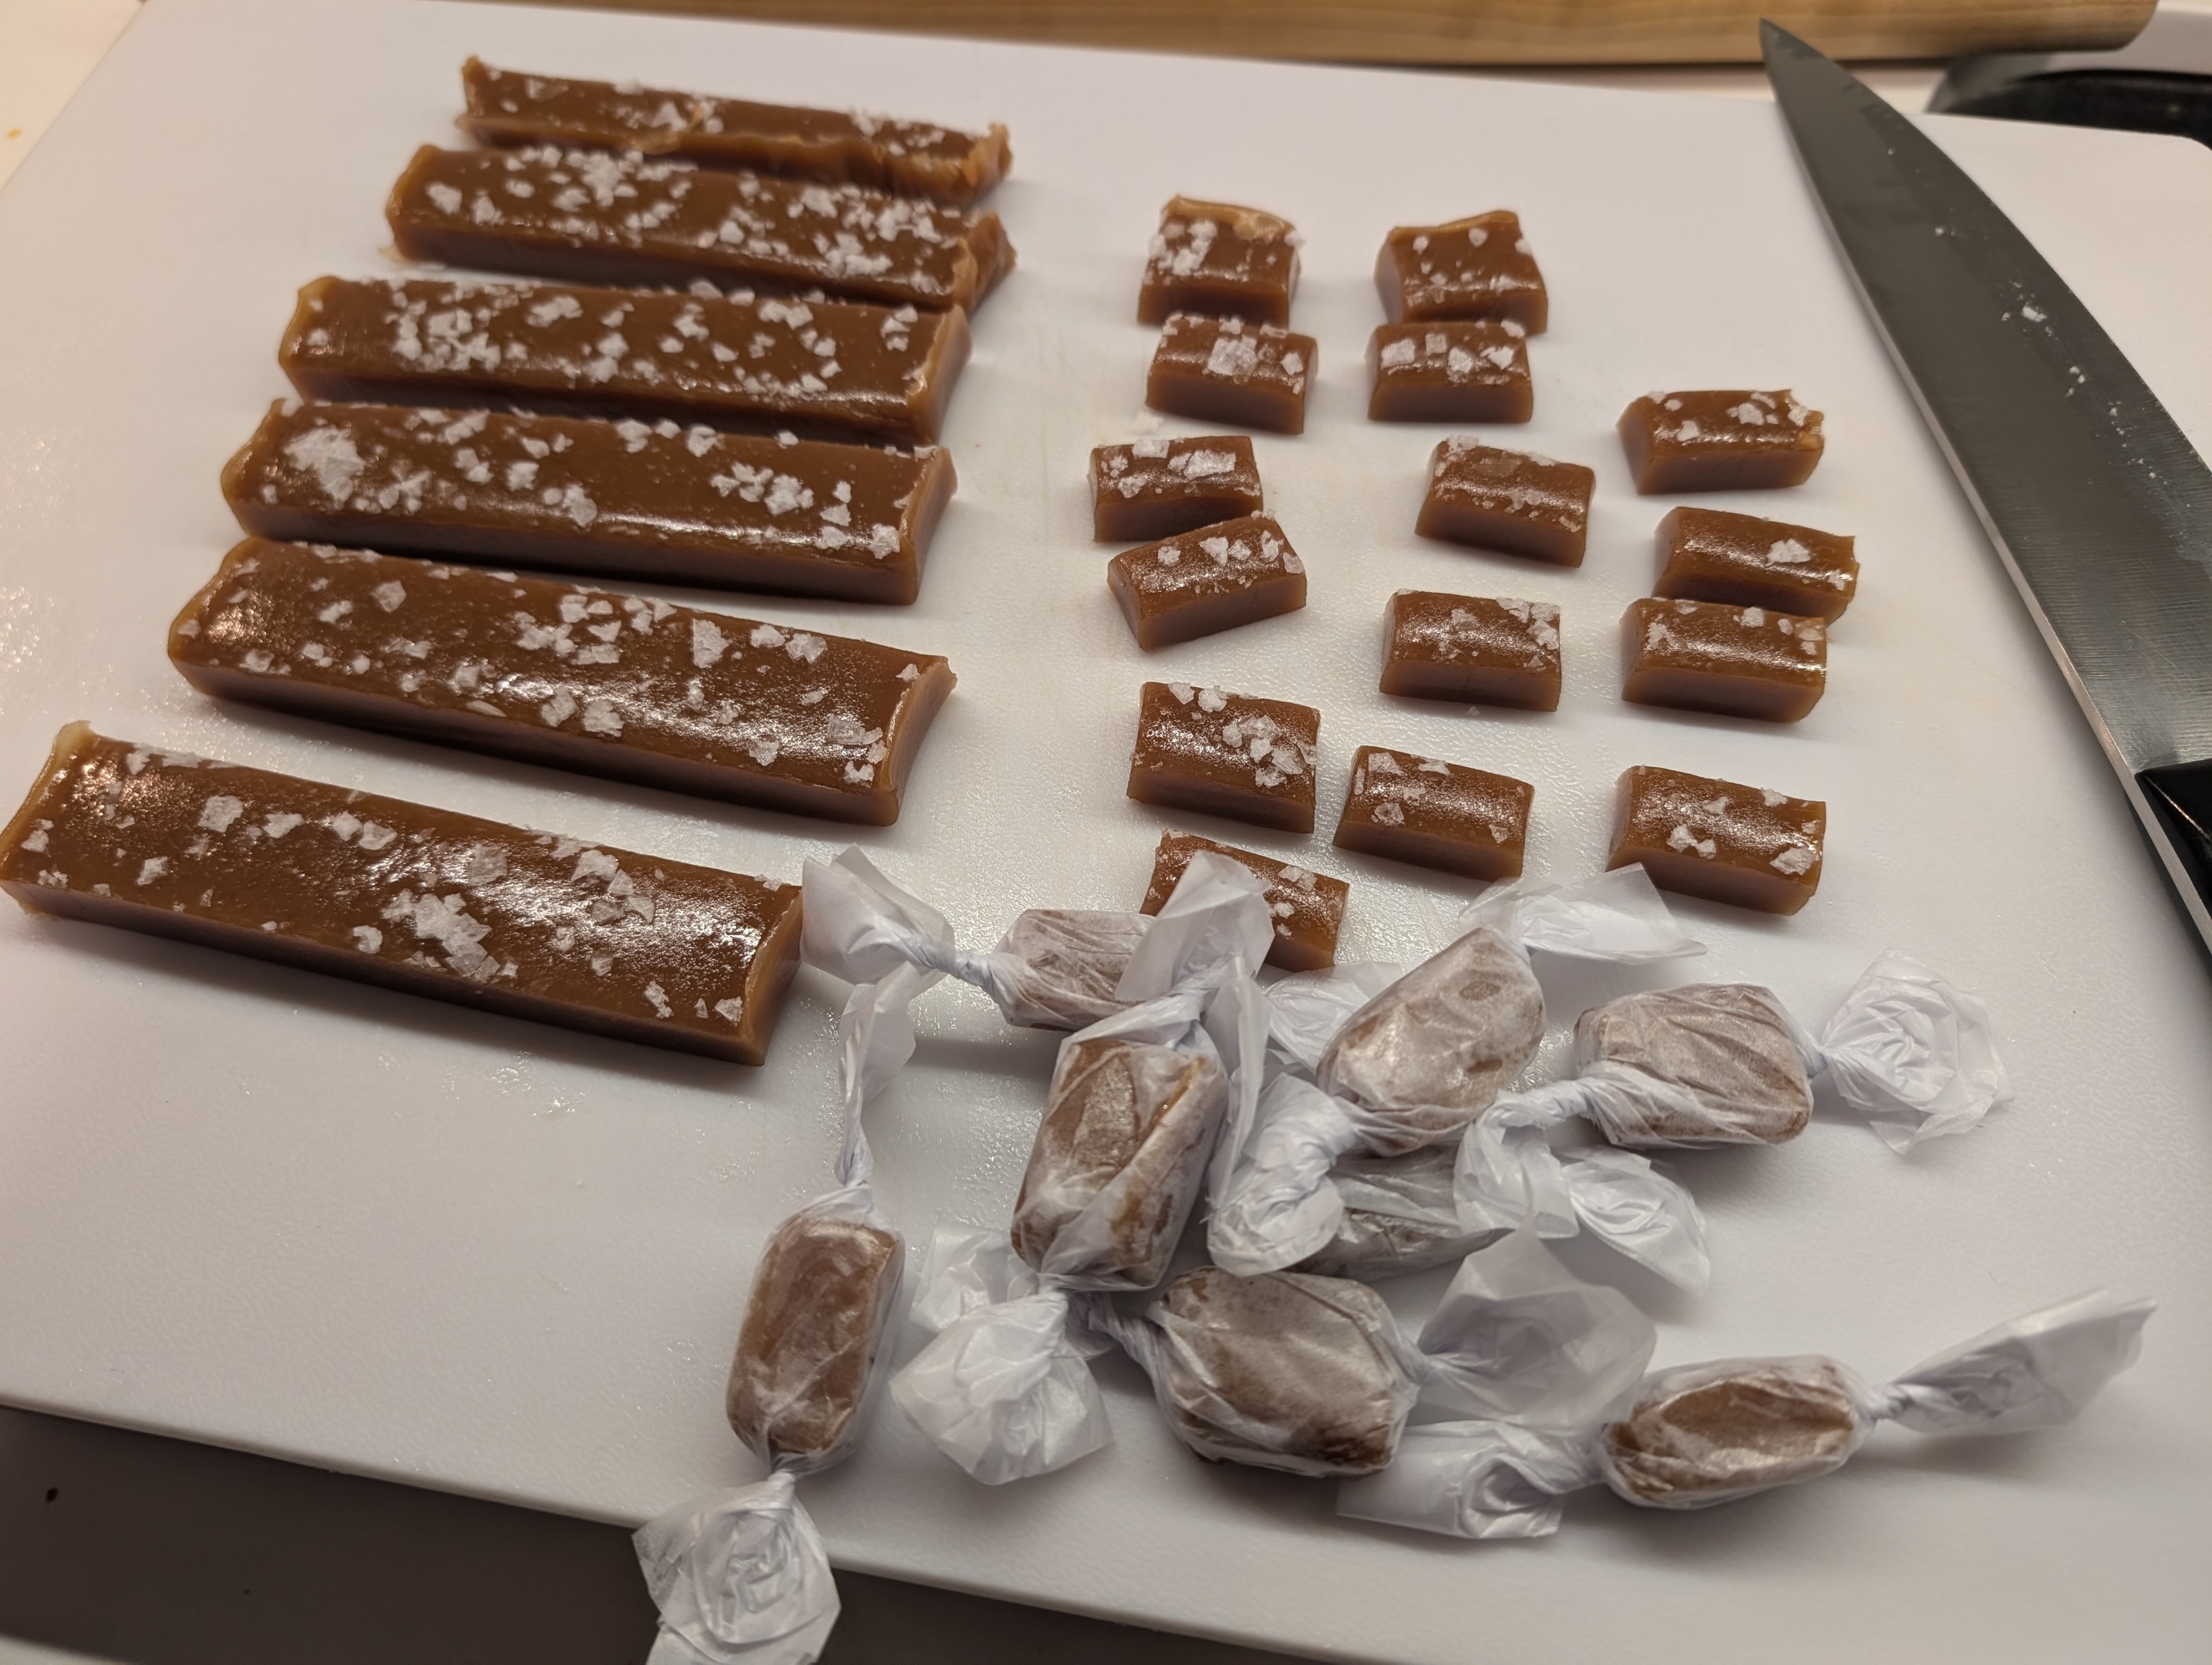
- Carefully lift the caramel out of the pan with the edges of the parchment paper, and move it to a cutting board. Cut it into individual pieces (1"x½" is good).
- Individually wrap caramels, they are sticky and will stick to each other. They can be stored unrefridgerated for up to a week, or refridgerated for up to a month.
Notes
- For nice presentation use a salt with large crystals, preferably a finishing salt but Kosher salt also works.
- Try and get the salt even, with the smaller pieces you want to make sure each bite gets a little bit of salt. Use a bit more salt than you would think normally would work, these caramels are very rich and small amounts of salt will just disapear.
Images